 |
| Ollie the other Snowman |

Wednesday, January 26, 2011
Tuesday, January 25, 2011
Pie Safe
 |
| We found this old Pie Safe in a barn in 2004 that was being torn down and were told we could just take it. So we did, at the time we had no idea what it was. It was so dirty and filled with dirt we started to take the screen off the clean it up. |
 |
| Had we known what it was we might have just restored it instead of refinishing it. Lloyd decided to make me a china cabinet out of it. To most people I'm sure it looked like fire wood, but I saw a treasure and was so excited! |
 |
| This is the Pie Safe today, Lloyd filled in all the sides with bead-board, I absolutely adore it! This is one of my favorite pieces in my home. |
 | ||
| Lloyd cleaned up the hinges that were on it and spray painted them to look rusty, he did the same with the latch, but the latch was from an old window. |

Friday, January 21, 2011
Oven Potatoes
 |
| This is a family favorite, that is so easy and yummy! Oven Potatoes were always in our home growing up, especially in the summer/fall after the garden potatoes were done. Now that I live in Potato Country we always have Huge Beautiful Potatoes available. I used 5 Large potatoes, but you might need more than that depending on how much you want to make, the store bought potatoes are 1/3 the size of the ones we get locally, so keep that in mind. I also cut up 1/2 cube of butter, but I'll sometimes use olive oil spray and just spray the potatoes with that before seasoning them. |
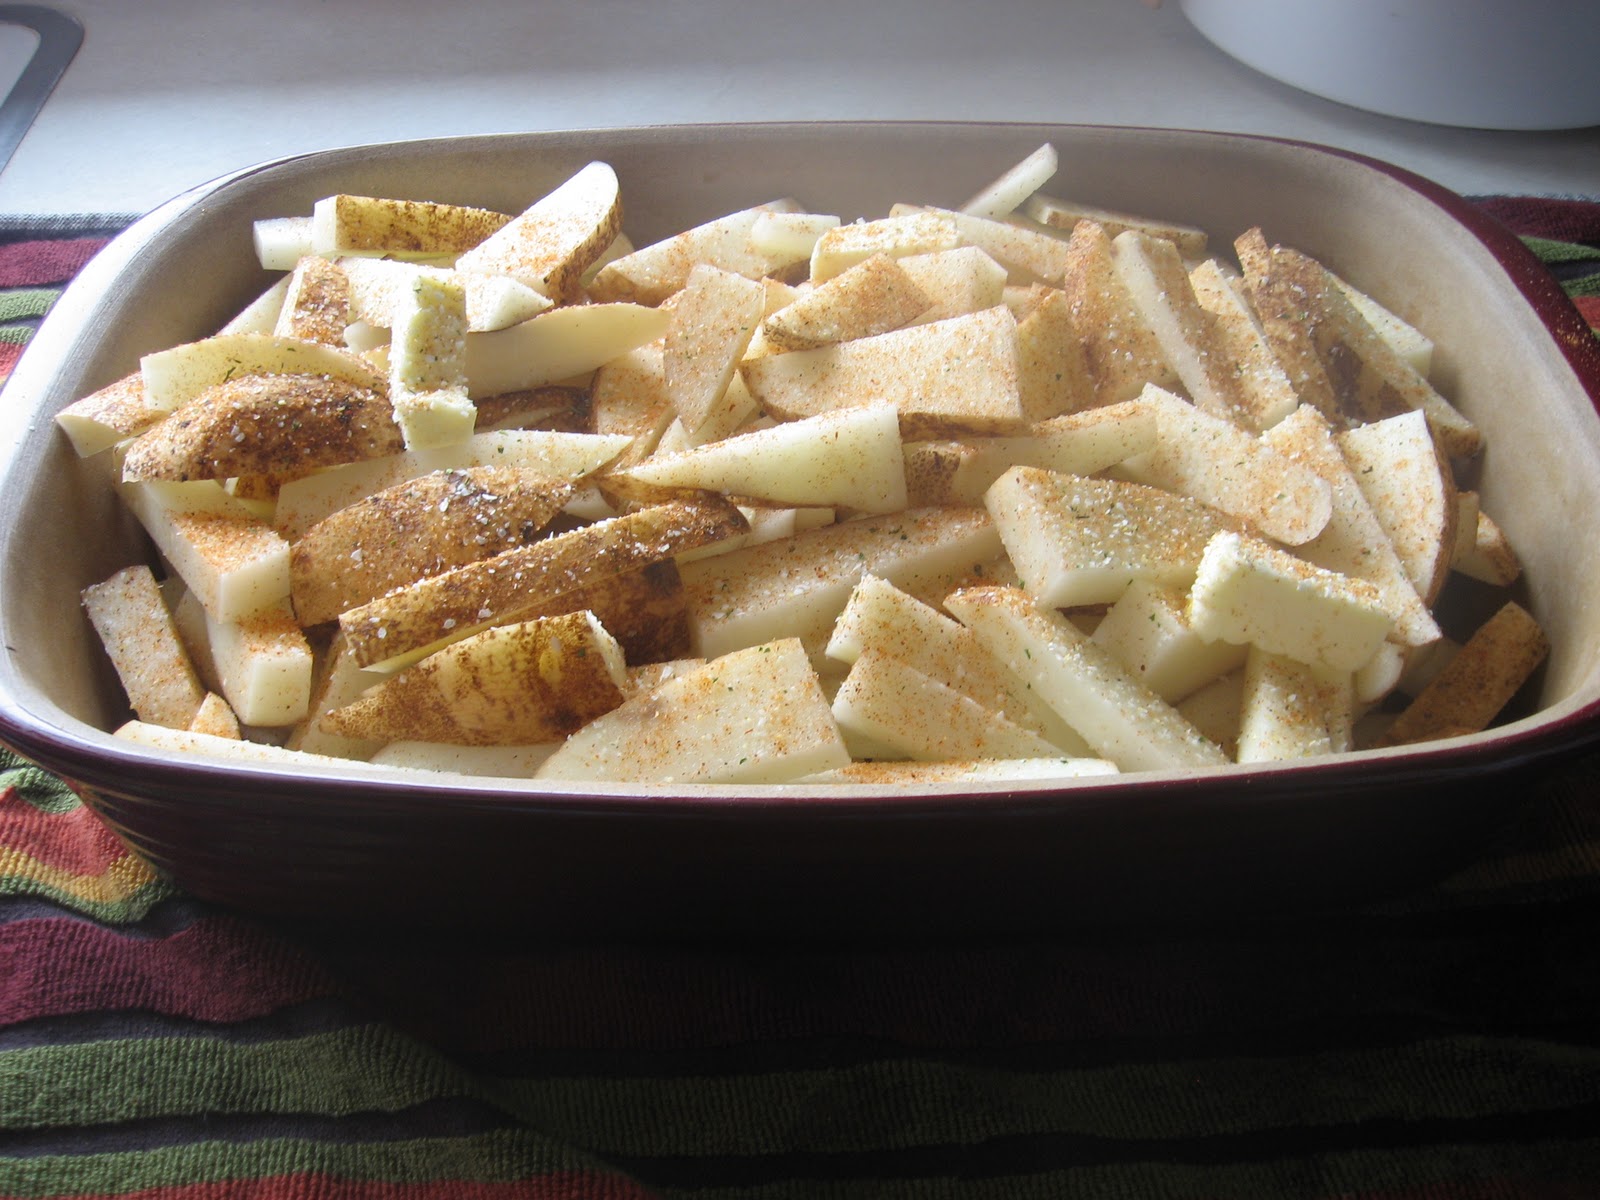 |
| Here are the potatoes sliced up with the butter spread throughout (or spray them with olive oil) Then I put season salt and garlic salt (or powder) on top. Cover with tin foil and place in a 375*-400* oven for 45 min to an hour (depending on your oven). Once the potatoes are done (poke them w/a fork) I uncover the potatoes and turn on the broiler for a few minutes to get potatoes crispy. |
 | ||
| I didn't crispy the potatoes today, I kept them soft for the baby. We eat them like french fries w/ fry sauce, ketchup or ranch. |
When making fry sauce I never measure, but I put about 1/2 c mayo and about 3 tbsp of ketchup and I always put season salt and garlic in the sauce, (makes it better). If you need more ketchup or mayo just add it until the color seems right.

Tuesday, January 18, 2011
Shoe Cubby FREE 99
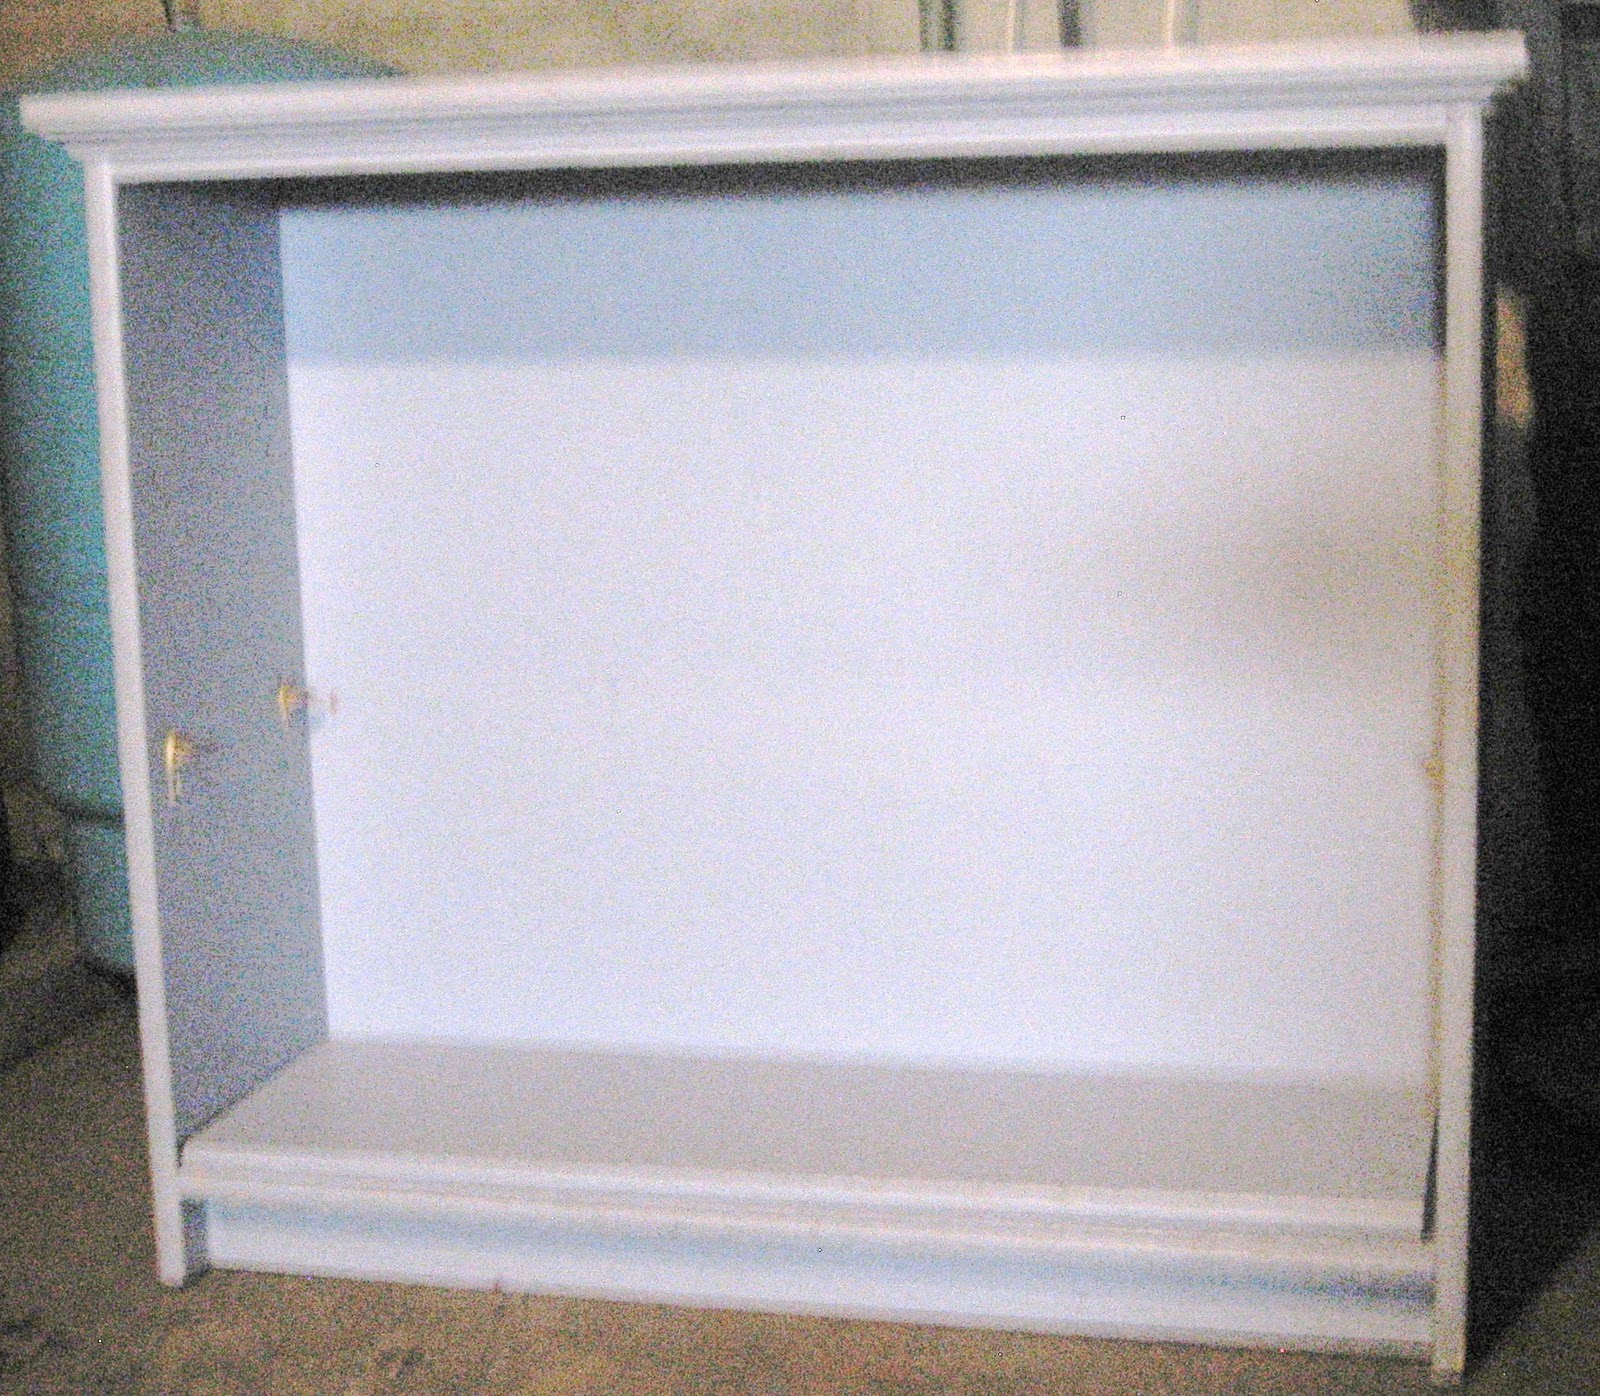 | |
| I got this bookshelf for free, someone was throwing it out and I snagged it. (I know, not the greatest picture) I had planned on sprucing it up and putting the bookshelf in my baby's room. However, Lloyd got thinking about it and decided to make a shoe cubby out of it for our porch. I was elated! He has the best ideas! |
 |
| This is the desk we took out of our living room and it literally fell apart as we were taking it out. (I didn't realize it was on its' last legs) We decided to keep the wood for a project, and this was the perfect one. (We still have more if we need it for anything) |
 |
| Here is my Amazing Hubby (Lloyd) cutting the wood for the cubbies. It was actually a pretty warm day for us, so he didn't mind being outside, except the wind was a bit sharp. |
 |
| I'm actually embarrassed for anyone to see this, but here is my porch on a regular day, shoes EVERYWHERE! |
 |
| This is the view from the basement stairs, but usually there are shoes right by the stairs that get tripped on constantly. |
 |
| EMPTY AND CLEAN. |
 |
| Again from the stairs. |
 |
| A perfect fit! I chose red, I've always wanted a red piece of furniture, but never had one until now! The red is also leftover paint from my MIL's rocking chair. |
 |
| Everything has a place now!! Even my Hubby's size 13 shoes have a home, in the larger cubbies on the bottom. My gloves, hats and scarves can stay in their box, to be moved in the summer, and now the ice melt has a home that the baby can't get into. I LOVE IT!! |


Monday, January 17, 2011
Wall Plaques
 | |||||
| We went and picked out 9 different sheets of scrapbook paper that went well with my bedroom decor and purchased an 8"x 10' pine board (it was the cheapest). Lloyd cut them 8" and we were on our way! |
 |
| These are the boards router-ed and sanded. |
 |
| Then we painted them with some leftover black paint from our kitchen cabinet make-over. |
 |
| This is a close-up of the prints we chose. There are so many possibilities when making these, I've even thought of making some for my girls' rooms. |
 | |||
| I LOVE LOVE LOVE the new decor in our bedroom! Easy, inexpensive and beautiful! |
We are thinking of making these in bulk and selling them on Etsy or just here on the blog, I guess we'll see how much people like them and are interested in them.

Tuesday, January 11, 2011
The Little Red Rocking Chair
 |
| This little rocking chair belongs to my Mother-in-law, she got this chair when she was a little girl, so it's at least 60 years old. The chair was originally painted red, my MIL had taken the chair apart after it had broken an arm, and some of the spindles were also broken. She was planning to try and repair the chair and stain it natural, it sat for several years when my Hubby (Lloyd) took it to finish it for her, he tried every thing he could think of to get the red staining off the chair, to no avail. It moved with us 3 different times, and FINALLY this year he took it out of the box we kept it in and started putting it back together (I wish I'd taken a pic of it in pieces) He fixed the broken arm, replaced the spindles and got it glued back together. After the chair was repaired Lloyd started painting it. |
 |
| The arms look like they've never been touched or broken. |
 |
| After painting it red, it still needed something else.... |
 |
| It seems a little dull. |
 |
| Lloyd decided to stain the chair with some red mahogany stain. And it really took the chair to another level. I'm not sure you can tell in the pictures, but it looks amazing! |
 |
| Not so dull anymore! |
 |
| I love how the grain shows through the paint! We gave it to my MIL for part of her Christmas, she was so excited to see the chair and the red paint brought back so many memories for her! Now the Grandchildren can enjoy the chair as much as she did! |
Follow the Blog Hop!
Saturday, January 8, 2011
$20 and some leftover paint Computer Armoir


This is our latest project. I've been wanting to switch around my living room, but needed a different computer desk. I searched on KSL Classifieds and found this, they were asking $40, but when I got there it has some dings and scratches that I couldn't see in the pic. So I offered $20, they took it! I was so excited! As soon as we got it home I got out the putty and got going, then realized I didn't take any pics yet, so here are the first ones with putty on the scratches and holes etc. It's laminated wood not real wood otherwise we might have left it as it was. (OH and please don't look at my messy basement, there is shredded paper, toys and empty boxes, I rarely go down except for projects, so the kids have
free rein down there.)
 So here it is after I really really sanded the laminate to make sure the paint would stick. The paint I had as a leftover from our baseboards worked great! But it's too white for me, so we found some stain (again leftover from another project) We stained the cabinet and took out some of the starkness and were able to make it look a little more 'Shabby Chic' (which is my favorite look!).

We got it up stairs, into the living room and to its new home in the corner.


This is the cabinet all done! I LOVE how it turned out! Now I can close up my computer and not have the baby trying to get at everything all the time, and if I have a mess with papers I can close it and now no one will see the mess! Sorry the pictures are a little tilted, I was trying to get far enough away to get it all in, but my couch was in the way. So now our living room is switched around and it seems a TON bigger! The girls were wild tonight, I think they were excited to have more room to run. Wish we'd have thought of this configuration when we moved in! I think the cabinet is missing something though. I think that I would like some vinyl lettering to put on the doors. If you have a suggestion I'm all ears. I think I'll call or email my 2 Jodi friends who I get vinyl from to see what their suggestions might be for a quote or something. Hmmmm...I'll think about it and get some ideas, then post when I get it up!
Friday, January 7, 2011
Fun Follow Friday; Jan 7
I ABSOLUTELY LOVE checking out new Blogs! These are two of my favorites that are hosting this Blog Hop. So start checking them out and find some new Blogs to follow!
Welcome to Fun Follow Friday hosted by Simply Stacie and My Wee View. The goal of this hop is to get new Google Friend Connect Followers for your blog and be introduced to new blogs to follow! We wanted to keep it fun and easy so all you have to do is add your blog link and start blog hopping and following away! You aren’t required to write a post for your blog for Fun Follow Fridayunless you want to (but we really appreciate it if you do to help get the word out).
When you visit a blog that you like and want to follow, leave them a comment with your link telling them you are following from the Fun Follow Friday. Of course, we would love for you to follow both hostesses blogs, Simply Stacie and My Wee View, but it isn’t mandatory. If you do follow us, just leave us a comment and we will follow you back.
The main goal is to have fun and follow the blogs that interest you!
There are a few fun things that Fun Follow Fridays does each week:
1. Each week 1 winner will be randomly drawn for the #3 Spot, this week it’s Mom’s Focus on a Cyber World.
Happy hopping along!
This is a Blog Hop! 158 entries so far... you're next!
Thursday, January 6, 2011
Giveaway on 'Abby Approved'!!!
This is one of the many blogs I follow and love to get new ideas from. Giveaways are always great too!! These are amazing products, I feel like I live in a box sometimes when I hear about things that are out for public purchase. I TOTALLY want to try these with my next pregnancy, so cool! Check it out and enter the giveaway!
In addition the the Gender Prediction Test, IntelligGender also makes IntelliCeuticals Natural Products for Moms & Babies. This includes a wide range of all-natural products before baby & after to help heal mama
and promote successful breastfeeding such as “New Mom Rebalancing Drops”, “Elasti-Oil”, “Nature’s Nipple Prep” and more.
Enter Giveaway at Abby Approved
IntelliGender/IntelliCeuticals Giveaway
IntelligGender can be used when you are just 10 weeks pregnant-you don’t have to wait until 20 weeks anymore to find out what you're having! Not only that, but this test is affordable at just $34.95 and is very easy to use. Within minutes the test will change colors to indicate the gender of your baby-green indicates boy and orange indicates girl!In addition the the Gender Prediction Test, IntelligGender also makes IntelliCeuticals Natural Products for Moms & Babies. This includes a wide range of all-natural products before baby & after to help heal mama
and promote successful breastfeeding such as “New Mom Rebalancing Drops”, “Elasti-Oil”, “Nature’s Nipple Prep” and more.
Enter Giveaway at Abby Approved
Wednesday, January 5, 2011
Hamburger Vegetable Soup

Hamburger Vegetable Soup
1 pound ground beef
4 cups beef broth
4 cups water
2 (1 ounce) packages dry onion soup mix
1 (15 ounce) can tomato sauce
2 stalks celery, chopped
1 onion, chopped
1 (16 ounce) package frozen mixed vegetables
3/4 cup elbow macaroni
Directions
- In a saute pan, brown ground beef, over medium heat.
- In a large stock pot, combine broth, water, onion soup mix, tomato sauce, celery, onion, frozen vegetables and macaroni. Bring to a boil and then simmer until macaroni is done.
- Add browned ground beef, mix and serve.
PS I like to use 'picsweet' frozen veggies because they no longer put lima beans in the mix (I like them, but my hubby does not) Next time I might try adding fresh veggies and/or using potatoes instead of macaroni. You could also brown the hamburger then throw it all in the crock-pot for a quick meal too. Oh, and if that many onions throw you off, I'm telling you to just try it! It doesn't seem so onion-y. I PROMISE! But let me know what you think of this when you try it, or if you used a different variation!
Sunday, January 2, 2011
2011????
I CANNOT BELIEVE it is 2011!! That year seemed so far away! It seems like just yesterday it was 1994! Time sure does fly after High School, then Marriage, then kids..... Where did the years go?? I hope everyone had a wonderful Christmas and New Years! We had an amazing Holiday spending it with family and friends. I am now back on the ball and ready to Blog!
This last weekend my hubby and I picked up a new/used computer armoir on KSL classifieds. They were asking $40, when we got there it had a few nicks and scratches. I will have to putty and paint the whole cabinet now, so I offered $20 and they took it! I was elated! We've decided to utilize the space in our living room by moving around and changing some of the furniture. My large computer desk will be gone and replaced with this small computer armoir. We'll have to move around some phone lines and other wires to move our TV and computer, but I am so excited to have a big change! I'm starting on the armoir tomorrow so I'll be sure to take pics and keep you posted on the progress.
For New Years Eve we went to my Parents' home and had a good time with games and food. I'll get the pics up and posted in the next few days for the yummy stuff we made (I forgot my camera, so my Mom needs to email the pics to me).
We will also be taking on some more furniture makeovers in the next month (for my Mom's Bday) We'll be repainting a coffee table and 2 end tables, and refinishing a Vintage chair that belonged to my Great Great Grandmother. I LOVE giving NEW LIFE to OLD FURNITURE! So keep posted!
Subscribe to:
Posts (Atom)