If you would like me to review an item, or sponsor me, just let me know, I'd love it!

Showing posts with label Furniture. Show all posts

Monday, May 2, 2011

Computer Armoir Finish!

Before
After! 

I do realize I still need to touch up a few finger spots on this armoir, but I wanted to get my vinyl sticker up before I stained it again, and now I can do that (to help seal the sticker on).  My Amazing friend Jodi from Signs By Jodi patiently helped me to find what I was looking for and let me look through all she could find to send me.  I kept asking for more and she'd send me more.  I found a few that were my favorites and with the help of Lloyd (my fabulous husband) we picked two and sent them to Jodi to have her blow them up bigger.  Jodi sent them back immediately  and we knew this one was the one we wanted!  I finally ordered it.  Jodi let me know I had 'blank' space that would waste vinyl and asked if I wanted to fill the space with other things I wanted printed. I decided on my address to put on our siding outside.  I'll post that another day. 

I am so thrilled with this, it finally looks complete, nothing is missing!! LOVE IT!!

Monday, April 4, 2011

Shadowbox Tutorial

This is my post that was featured at Not Just A Housewife last Friday!  My first FEATURE!! YAY!! 
 
I am so excited to be guest posting here at Not Just a Housewife! What an honor! My name is Clisty, and I blog at Rural Grace 

I am ecstatic to be featured for my first time!! I haven't been blogging for very long, but love it!  I love trying new recipes and sharing old favorites.  Giving new life to old furniture. I do a little quilting, crafting and love doing fun things with my girls.  I am the mom of 3 beautiful girls ages 1, 3, & 6.  I also have an amazing husband who helps me with my projects (just another way to spend time together).  We live in rural Idaho, our little valley is beautiful and peaceful (and an hour away from any 'real' stores).  I can't imagine living anywhere else!

I decided to do a tutorial on this cute shadowbox.  My husband and I have made several of these, I gave mine to a friend for her Birthday, so I got a new one.  Then I gave that one to a church auction and I haven't gotten another one since.  So to get mine done I decided to do a tutorial on it then I'd have a deadline for mine.  My front porch is empty and missing the shadowboxes that once hung there, so here we go!

To get started you need a 1x8x8 piece of pine or MDF (if you'll be painting it), you will use the whole piece if you make it a 2 foot  shadowbox.  You will also need 10-12 feet of molding (that should give you room for a few little mistakes).  Any molding will work, just find a cut/design that you like.  For this tutorial I will be using some antique molding, so if you're buying new stuff and are planning to paint it the MDF is the easiest to work with.  We have made them with all real wood and with MDF, and with Pine sides, but MDF molding.  It all works fine.

This is the molding we're using, it was in my MIL's house. A few years ago she got new carpet and my husband decided she needed new molding to go with the carpet, so we took out the old stuff and he saved it.  The molding was put in when his Grandfather remodeled their house in the 1930's.  I love old things, especially things with family history.  This is the 2nd shadowbox that has been made out of this really cool old molding.  Lloyd made one for his sister a while back, and now I get one for my house too!  The pine1x8x8 is here too ;) See the old carpet stuck to staples in the wood?  A wonderful orange and brown shag lol.   It was also super dirty from sitting in our shed for so long.  I wiped it off and pulled all the staples out.  It was very holey after that.
We used this spray on paint/varnish remover.  It's safe to use indoors, no harsh smell, it smells like oranges, and works really well too!  But no matter what always remember to use gloves!  Safety first! lol

We sprayed the wood with some stripper to get some of the paint off.  The stripper is orange color, which is nice so you can see where it has been sprayed.  We let that sit for 1 hour.
Scraping off the old paint with a putty knife, I didn't want all of it gone though.  I think it adds character to it when there's a little bit of old paint oil seeping through the new paint.


I like the size of a 2 foot square shadowbox, but you could make it whatever size, it could be a rectangle if you choose to do so.  If you have a specific spot in mind for the shadowbox, you cold always use painters tape and tape off the spot in the size you desire to see if it works. It might need to be smaller or bigger, these plans are easy to change, not much math goes into it.
We chose a table saw to cut the 1x8 pine, you could use a chop saw/miter saw, a hand saw (not recommended) or a circular saw (just whatever you're comfortable with or have) lots of options.

All the 1x8 pieces are identical, I just love the smell of freshly cut pine!! It's beautiful too!!

We used a brad-nailer with 1" brads to attach the 1x8 pieces to form a square.  You could also use finishing nails if you don't have access to a nailer.

Here is the finished box, the molding is up next!  We don't use backs on our shadowboxes I like to see the color of paint through the box. You could definitely add one using some wainscoting/bead-board, that would be really cute!  Also if you can see one side of the box is longer than the other from butting the pieces together, so it's not actually a perfect square, but pretty close. 

Measure inside corner to inside corner to get the measurement for the molding.
The chop saw/miter saw gets turned to a 45* angle to cut an end of the molding, then flipped the opposite way 45* for the other end so the pieces can butt together, do the same for all 4.


Before nailing the molding on we always run a thin bead of glue along the edge.

Sophie did NOT like the sound of the brad-nailer. My other two girls don't mind the sound of tools, but Soph must have sensitive ears, because she covers them or runs away.
Before nailing you might want to set all the pieces of molding on the box to see how they fit together.  Sometimes you have to switch pieces to get them to fit right.  And don't worry if you have some small gaps.  It won't be perfect, and we'll putty them later, I'll show you how to make it look almost perfect!
The box has two sides nailed on, if you look close you can see the small gap in the corner, easily hidden.
After I puttied all the holes and gaps in this old molding I let them dry. If you use some new molding from the hardware store, you should just have to putty the brad-nail holes and the gaps.  Once dry I sanded the molding making sure it was smooth, then wiped it all down with a damp cloth to get all the dust off.

Here is the final product!! I love it! I'm trying to decide if I'm going to scuff the edges or put a stain on it to antique it a little bit and make the details stand out more.  I think I'll look at it for a while on my wall before I make that final decision, plus I want to see how the old paint oils seep through the new paint.  (I know my candles have seen better days, I think I'll replace them soon.)    Here are a few other projects I have done.

Check out my wall plaques tutorial here
Here's a Shoe Cubby Redo

Yummy Mini Pineapple Upside-Down Cakes Recipe


 Thank you, Stacy, for letting me share my project with your readers! I hope you all will come see me sometime and check out my other fun stuff!

Tuesday, January 25, 2011

Pie Safe

We found this old Pie Safe in a barn in 2004 that was being torn down and were told we could just take it.  So we did, at the time we had no idea what it was.  It was so dirty and filled with dirt we started to take the screen off the clean it up.

Had we known what it was we might have just restored it instead of refinishing it.  Lloyd decided to make me a china cabinet out of it.  To most people I'm sure it looked like fire wood, but I saw a treasure and was so excited!

This is the Pie Safe today, Lloyd filled in all the sides with bead-board, I absolutely adore it! This is one of my favorite pieces in my home.

Lloyd cleaned up the hinges that were on it and spray painted them to look rusty, he did the same with the latch, but the latch was from an old window.


Photobucket


Tuesday, January 18, 2011

Shoe Cubby FREE 99

I got this bookshelf for free, someone was throwing it out and I snagged it. (I know, not the greatest picture) I had planned on sprucing it up and putting the bookshelf in my baby's room. However, Lloyd got thinking about it and decided to make a shoe cubby out of it for our porch.  I was elated!  He has the best ideas!
This is the desk we took out of our living room and it literally fell apart as we were taking it out. (I didn't realize it was on its' last legs) We decided to keep the wood for a project, and this was the perfect one. (We still have more if we need it for anything)

Here is my Amazing Hubby (Lloyd) cutting the wood for the cubbies.  It was actually a pretty warm day for us, so he didn't mind being outside, except the wind was a bit sharp.


I'm actually embarrassed for anyone to see this, but here is my porch on a regular day, shoes EVERYWHERE!

This is the view from the basement stairs, but usually there are shoes right by the stairs that get tripped on constantly.

EMPTY AND CLEAN.

Again from the stairs.

A perfect fit!  I chose red, I've always wanted a red piece of furniture, but never had one until now!  The red is also leftover paint from my MIL's rocking chair.

Everything has a place now!! Even my Hubby's size 13 shoes have a home, in the larger cubbies on the bottom.  My gloves, hats and scarves can stay in their box, to be moved in the summer, and now the ice melt has a home that the baby can't get into.  I LOVE IT!!

The view from the stairs, it is so nice to not trip on anything!  The best part is, the whole thing was FREE and we used things we had at home to make this cute shoe cubby!  My Lloyder amazes me every day! Now we just need to paint the walls on the porch for some color, I think we'll use leftover paint from the living room and use the milk chocolate brown color, that is once we get a new door.  One thing at a time.  But I do LOVE LOVE this cubby!

Don't forget to link up, or at least check out the rest of these fun makeovers!  The Hop is at the bottom of my page.

Photobucket

handmade projects

Saturday, January 8, 2011

$20 and some leftover paint Computer Armoir


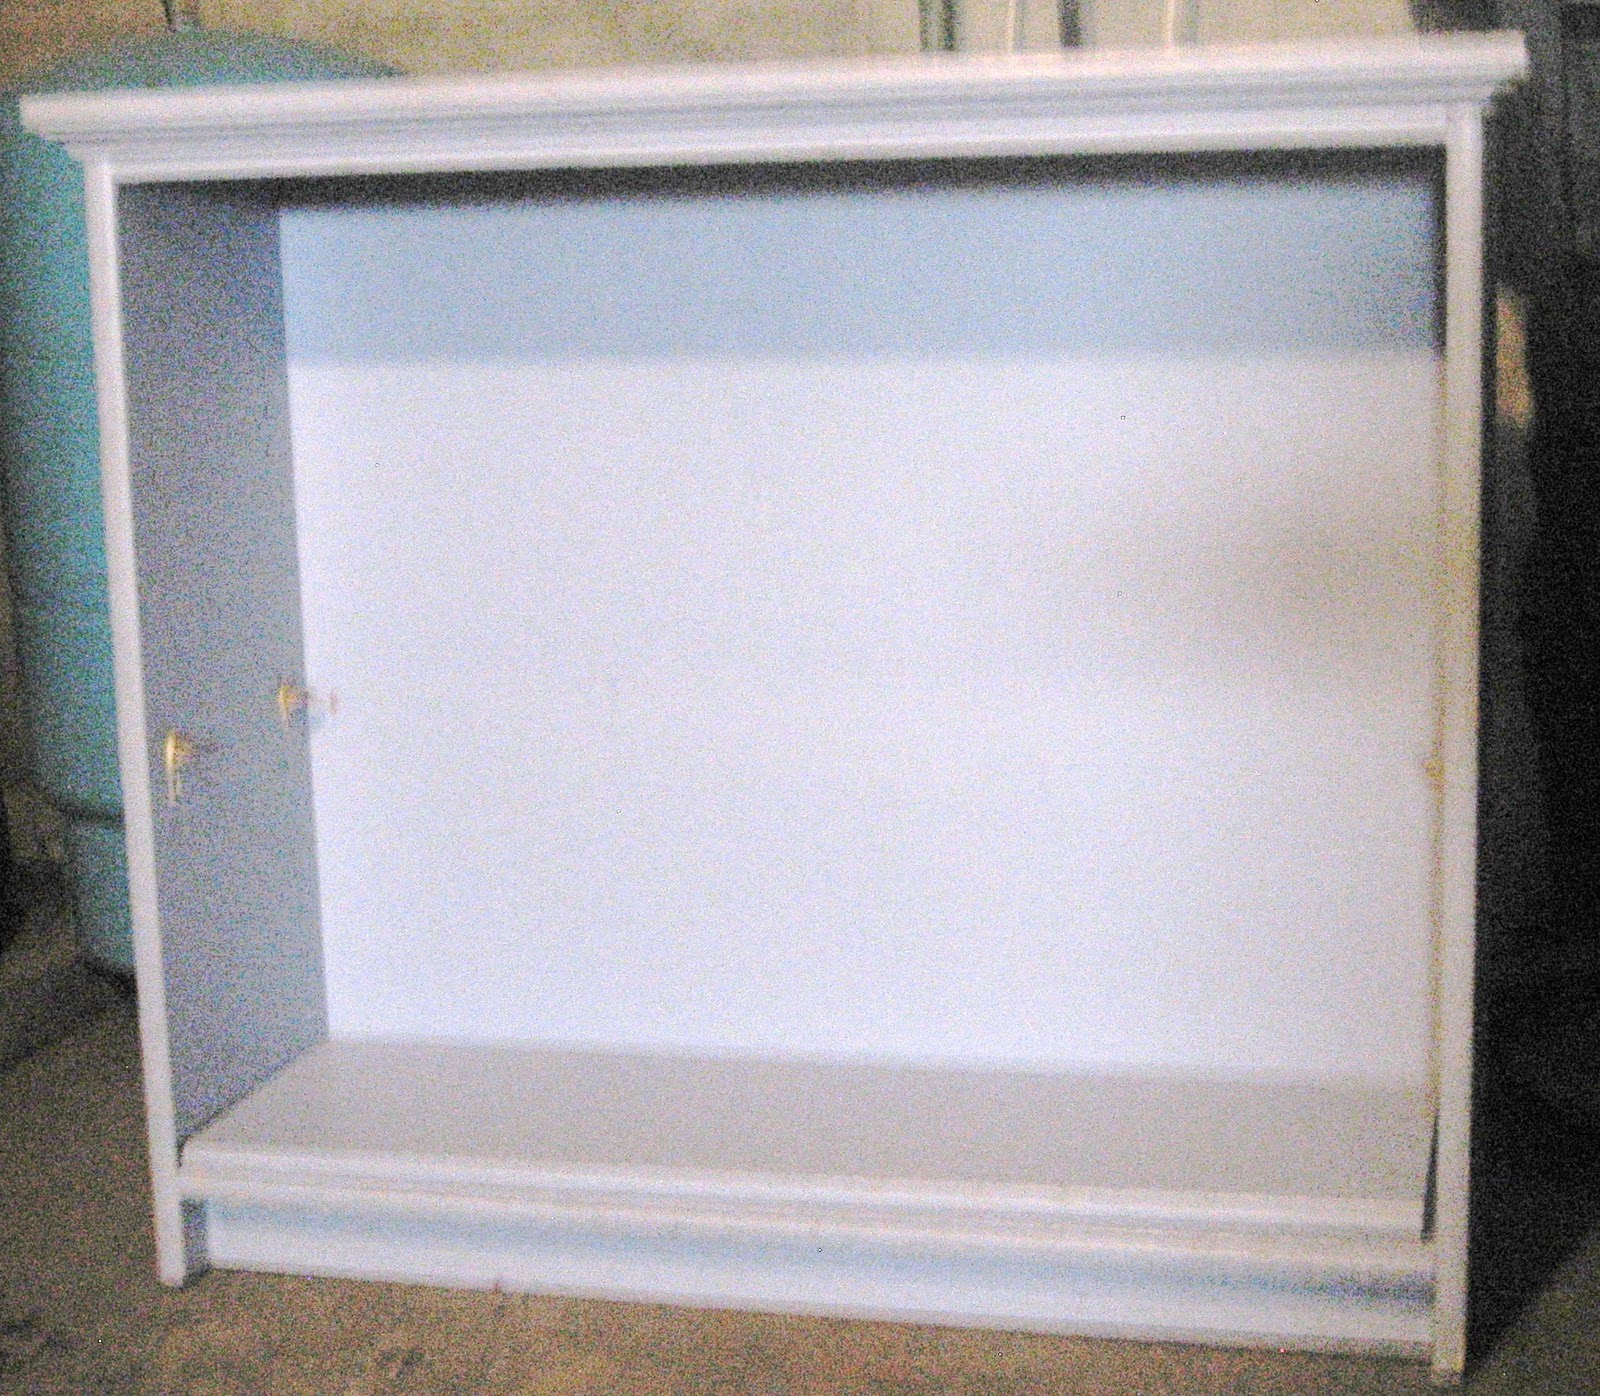
 This is our latest project.  I've been wanting to switch around my living room, but needed a different computer desk.  I searched on KSL Classifieds and found this, they were asking $40, but when I got there it has some dings and scratches that I couldn't see in the pic.  So I offered $20, they took it!  I was so excited!  As soon as we got it home I got out the putty and got going, then realized I didn't take any pics yet, so here are the first ones with putty on the scratches and holes etc.  It's laminated wood not real wood otherwise we might have left it as it was.  (OH and please don't look at my messy basement, there is shredded paper, toys and empty boxes, I rarely go down except for projects, so the kids have
free rein down there.)


So here it is after I really really sanded the laminate to make sure the paint would stick.  The paint I had as a leftover from our baseboards worked great!  But it's too white for me, so we found some stain (again leftover from another project) We stained the cabinet and took out some of the starkness and were able to make it look a little more 'Shabby Chic' (which is my favorite look!).


We got it up stairs, into the living room and to its new home in the corner.


 This is how beautiful your hands look even after 2 washes with 'orange clean' after staining something without gloves.  I need to remember to buy some next time I'm at the store.  I've now got them scrubbed clean ;)


This is the cabinet all done!  I LOVE how it turned out!  Now I can close up my computer and not have the baby trying to get at everything all the time, and if I have a mess with papers I can close it and now no one will see the mess!  Sorry the pictures are a little tilted, I was trying to get far enough away to get it all in, but my couch was in the way.  So now our living room is switched around and it seems a TON bigger!  The girls were wild tonight, I think they were excited to have more room to run.  Wish we'd have thought of this configuration when we moved in!  I think the cabinet is missing something though.  I think that I would like some vinyl lettering to put on the doors.  If you have a suggestion I'm all ears.  I think I'll call or email my 2 Jodi friends who I get vinyl from to see what their suggestions might be for a quote or something.  Hmmmm...I'll think about it and get some ideas, then post when I get it up!